Introduction
This document provides a quick guide explaining how to create a Site in the One Network System. A Site can then be used as a Ship From location (Pickup) or a Ship To location (Delivery). A Ship From or Ship To location exists on the following items: a Shipment, a Route, and a Rate.
Creating a Site
- Login to the One Network System.
- Select Administration Sites.
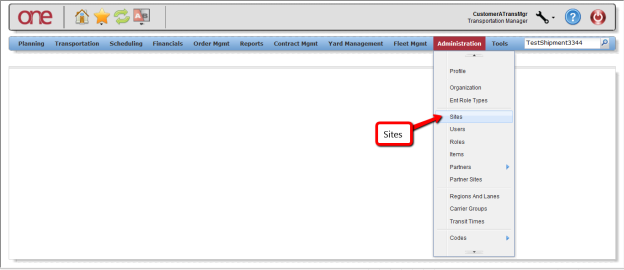
- The Sites Summary screen will be displayed with a list of the current sites. To create a new site Setting, press the Add Site button.
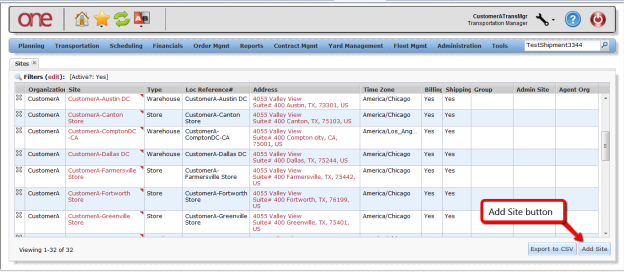
- The New Site screen will be displayed.
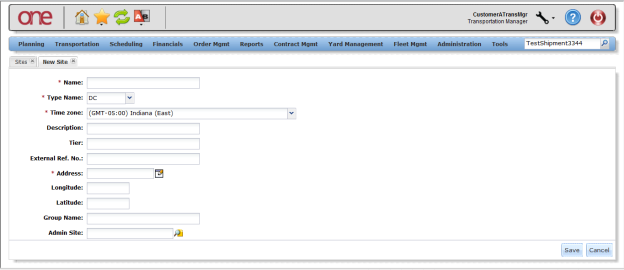
- On this screen, the user needs to fill in the required information as follows:
- Name field – text field; enter the name for the site
- Type Name field – drop-down list of Site Types; select one of the Types such as DC, Plant, Store, or Warehouse
- Time Zone field – drop-down list of Time Zones; select one of the Time Zones for this site
- Address field – select the Address icon next to this field and enter the Site's address (Note – after entering information in the Address popup window, click outside of the popup window to close it)
- On this screen, the user can fill in the desired non-required information such as External Reference Number and Description.
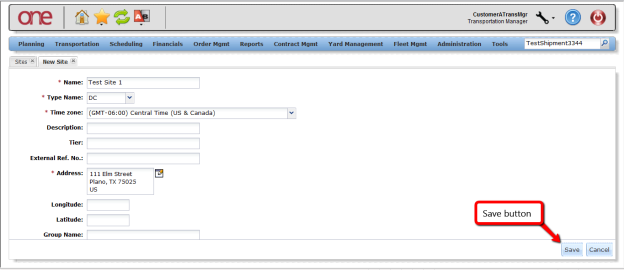
- After the information has been entered on this screen, press the Save button to save the information.
- After the Site has been created, it can then be used on other UI screens to represent the Ship From or Ship To location. These UI screens include: New Shipment screen, New Route screen, Create Dock Door Group screen, Create Dock Door screen, Create Base/Accessorial/Discount Rate screen, and Add Lane screen.