...
This document provides a quick guide explaining on how to create a Shipment shipment in the One Network Systemsystem.
Creating a Shipment
- Log in on to the One Network system.
- Select Transportation > New Shipment to open the New Shipment page.
...

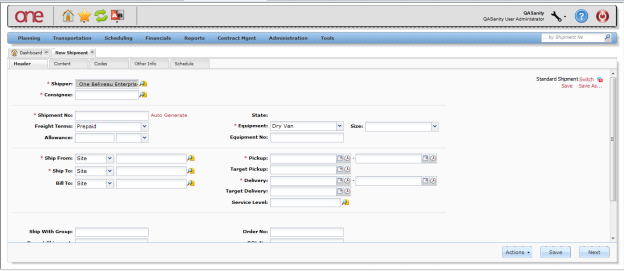
- Enter the following details on the New Shipment page:
Shipment
| Info |
|---|
The New Shipment page is displayed with the Header tab selected. |
- hipment
Number
Note You can use a system-generated shipment number if required.
Ship From Site
Note
Shipper The shipper will populate based on
this the information entered
.
Ship To
SiteSite
Note The consignee
(note – Consignee will populate based on
this the information entered
).
- Equipment
- Pickup
Date Range- date range
- Delivery date range

- Click the Content tab Delivery Date Range
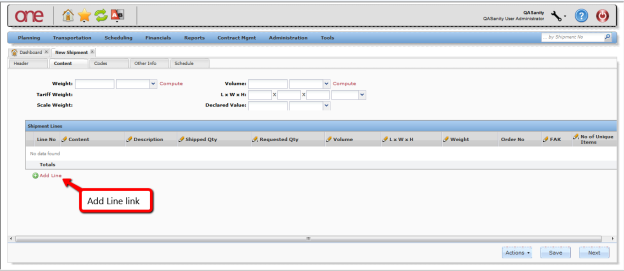
- Click the Content tab to enter information pertaining to the shipment lines.
- Click the the Add Line link link to display the the New Shipment Line popup window to enter the line information.

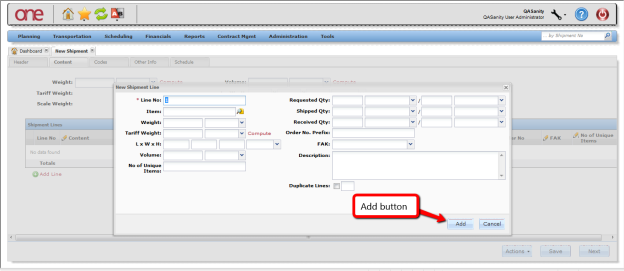
- On the the New Shipment Line popup pop-up window, enter the following shipment line information:
- Line Number (auto-generated)
- Item
- Weight
- Volume
- Shipped Quantity and Quantity Unit of Measure
- After entering Click Add to save the shipment line information, click Add on the popup.

- Repeat this process to add additional more shipment lines.
- On Click the Schedule tab to tab, enter the following shipment attribute information:
- Appointment Required (checkbox)
- Partner
- Partner Profile
- Commodity Code
- Appointment Code
- Load Type
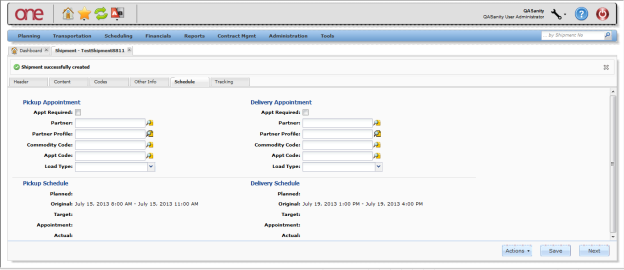
- After all shipment information has been is entered on the various tabs, press the click Save button on on the bottom of the screen page to create the shipment.
A success message will be is displayed, indicating the that he shipment has been created.

...