Introduction
This document provides a quick guide explaining how to create a Shipment in the One Network System.
Creating a Shipment
- Log in to the One Network system.
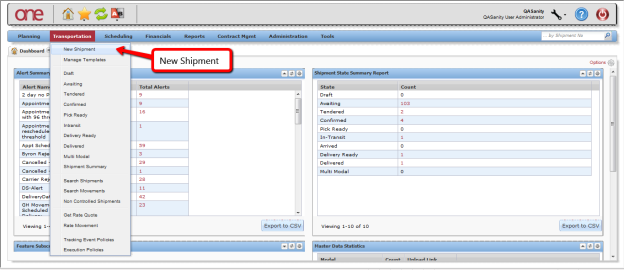
- Select Transportation > New Shipment to open the New Shipment page.
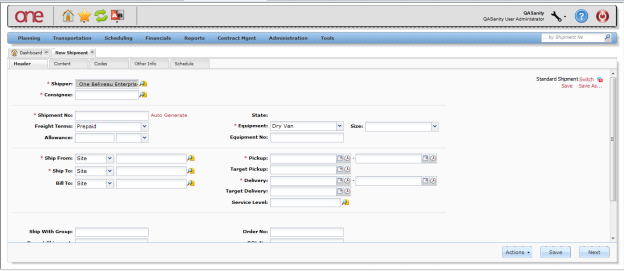
- Enter the following details on New Shipment page:
Shipment Number
You can use system generated shipment number if required.
Ship From Site
Shipper will populate based on this information entered
Ship To Site
Consignee will populate based on this information entered.
- Equipment
- Pickup date range
- Delivery date range
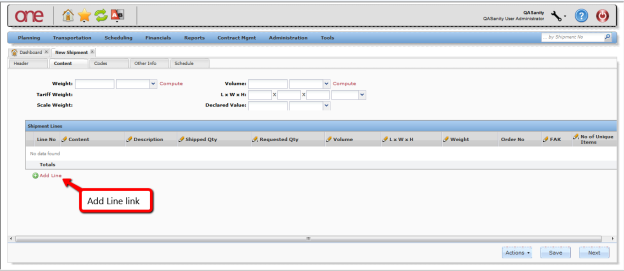
- Click Content tab to enter information pertaining to the shipment lines.
- Click Add Line link to display the New Shipment Line popup to enter the line information.
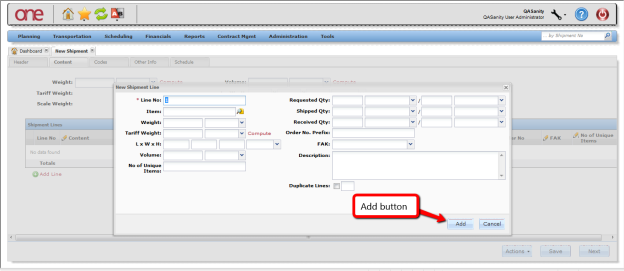
- On the New Shipment Line popup, enter the following shipment line information:
- Line Number (auto-generated)
- Item
- Weight
- Volume
- Shipped Quantity and Quantity Unit of Measure
- After you enter the shipment line information, click Add on the popup.
- Repeat this process to add more shipment lines.
- On the Schedule tab, enter the following shipment attribute information:
- Appointment Required (checkbox)
- Partner
- Partner Profile
- Commodity Code
- Appointment Code
- Load Type
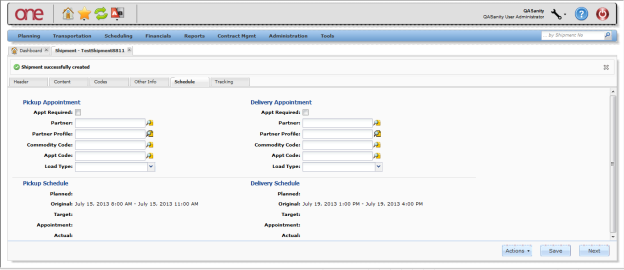
- After all shipment information has been entered on the various tabs, press the Save button on the bottom of the screen to create the shipment.
A success message will be displayed indicating the shipment has been created.