Introduction
This document provides a quick guide explaining how to create a Shipment in the One Network System.
Creating a Shipment
- Login to the One Network System.
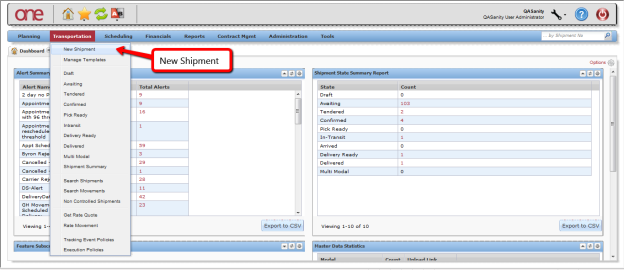
- Select Transportation -> New Shipment to open the New Shipment screen.
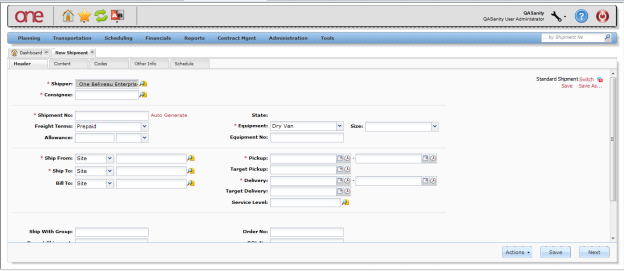
- The New Shipment screen will be displayed with the Header tab selected.
Enter information details on the Header tab:- Shipment Number (note – can have the system auto generate if desired)
- Ship From Site (note – Shipper will populate based on this information entered)
- Ship To Site (note – Consignee will populate based on this information entered)
- Equipment
- Pickup Date Range
- Delivery Date Range
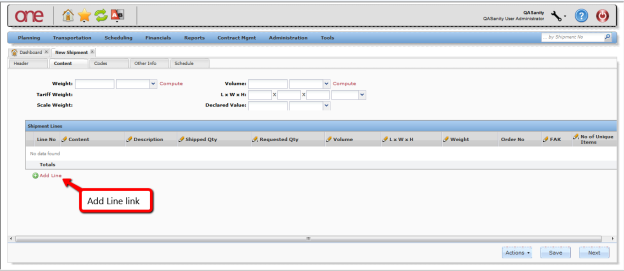
- Click on the Content tab in order to enter information pertaining to the shipment lines.
- Press the Add Line link to display the New Shipment Line popup in order to enter the line information.
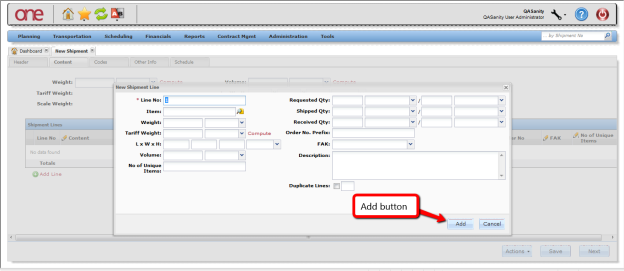
- On the New Shipment Line popup, enter the shipment line information:
- Line Number (auto-generated)
- Item
- Weight
- Volume
- Shipped Quantity and Quantity Unit of Measure
- After entering the shipment line information, press the Add button on the popup.
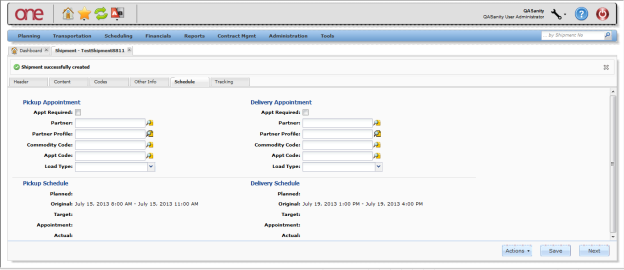
- Repeat this process to add additional shipment lines. Click on the Schedule tab to enter shipment attribute information:
- Appointment Required (checkbox)
- Partner
- Partner Profile
- Commodity Code
- Appointment Code
- Load Type
- After all shipment information has been entered on the various tabs, press the Save button on the bottom of the screen to create the shipment.
A success message will be displayed indicating the shipment has been created.
